Tutorial: Create a Snapchat Geofilter
You’ve probably seen Snapchat geofilters before. They are the creative frames and location-based titles that you can swipe through every time you take a picture on Snapchat. Snapchatters use them to add context and originality to the stories they post or the pictures they send. But did you know that you can actually pay (on average about $15 – $20 per day) to have your brand’s own geofilter appear on people’s Snapchat pictures?
Creating a geofilter for your brand is easier than you might think. Although anyone can create a geofilter, they are better suited to certain industries. Companies that have physical locations, and target a younger, mobile audience are well served by advertising on Snapchat. They are also a very powerful tool for real estate professionals looking to advertise open houses.
Imagine you own a local coffee shop and your baristas make beautiful latte art for patrons every morning. It’s likely that your customers are already taking pictures of your product because who can resist adorable foam creations? With a Snapchat geofilter, your customers can take pictures of your drinks on Snapchat and swipe to overlay your brand on the picture. That way, whoever they send it to will see exactly where these artistic drinks are coming from. You’re basically enabling your customers to become part of your marketing strategy!
If you think your business might be the kind that could benefit from a custom geofilter, keep reading! We’re going to break down exactly how to create one.
Step 1: Design Your Filter
To begin making your own filter, visit the Snapchat Geofilter website. Here, you can choose between a community geofilter, personal, or business. Because the Business section allows branding, that’s the one to choose.
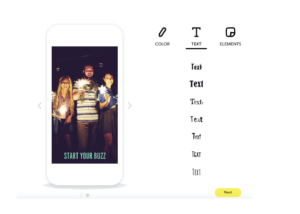
This is where the creation process begins. Here, Snapchat has plenty of pre-made templates for your business. At the top left, you can scroll through their categories and see the templates below each. Once you choose one (we chose just text) you can edit certain elements. By double clicking on the text, a menu will pop up giving you the option to change the color or the font family, give it a glow, or delete it altogether.
You can also choose to upload your own photos to the filter, so long as they comply wit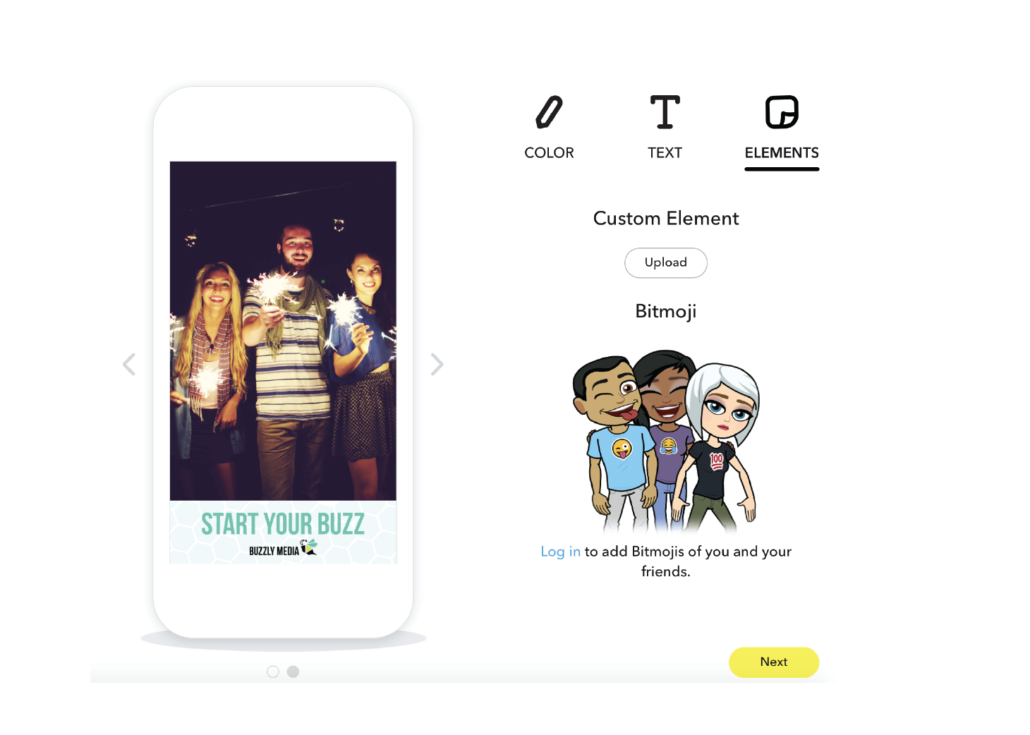 h Snapchat’s submission guidelines. At the top right there is an ‘Elements’ section. This would be a perfect place to upload your logo as a .png if you have one!
Remember that you can click and drag your text and elements around the screen template. You can also add as many as you would like and resize each to your liking.
If you’re curious as to what your geofilter looks like with an actual picture in the background, don’t worry! Snapchat covered that, too. Just click the left or right arrow next to the phone and they have an example photo. This is a much more accurate representation of your geofilter, instead of looking at it over a boring gray box.
Step 2: Schedule Your Filter
Once you’re happy with your template, you’ll move on to the next step: dates. This is where you’ll decide how long you want your geofilter to run.
Deciding how long to have your geofilter active is going to depend on what its purpose is. If you are using it for a business event, such as a fun run for charity, you may want to have an event geofilter start 30 minutes before your event and end 30 minutes afterwards. If you’re promoting something coming up, you may want to run your geofilter for a week or so before your event.
Snapchat also has an annual option that will automatically renew. The benefits of the annual geofilter (besides the discount) are the reporting and metrics. You can also change your geofilter at any time to align your branding with timely events or trending topics.
Step 3: Map Your Filter
The next step is drawing a fence around where you want your geofilter to be applied. You can enter in an address to get the map centered around the location, and then click the “Draw Fence” button at the bottom of the map. Drawing a fence isn’t as simple as clicking and dragging; it’s a matter of placing four or five dots around your area until they all co nnect. In this example, we’ll use Arizona State University as our location.
You’ll know that your fence is complete when the area inside of it turns green. If it’s red, this means that your fence isn’t large enough – Snapchat has a 20,000 square foot minimum for their fences. Keep in mind that the larger your surface area, the more costly the geofilter will be. You should draw your geofence a little bigger than your business, to make up for the sometimes inaccurate technology of geofencing. However, your geofence only needs to cover your specific location. The idea is that people in a targeted area will be more likely to use it because it is more relevant.
Step 4: Pay and Enjoy!
Once you’re happy with your price, selected area and times, the final step is the payment. When the payment is received, Snapchat will review your filter to make sure it is within their guidelines and within a few days, you will have your own Snapchat geofilter!
If you find yourself struggling to get your Snapchat geofilter just right, you can contact us and we will help guide you.